Why Is Google Analytics Important for Your Website?
If you’re looking to make your website more successful, whether it’s for business, blogging, or anything else, Google Analytics is a tool you can’t ignore. It’s like having a secret assistant that shows you exactly what’s happening on your site.
Imagine trying to improve your site without knowing what your visitors like or how they found you. It’s like shooting in the dark, right?
With Google Analytics, you’re no longer guessing. You get actual data about what’s happening on your site.
This means you can make smarter decisions about what to change or improve. For instance, you might find out that people love a specific type of post on your blog or that a particular product in your online store is a hit.
With this kind of info, you can focus on what works and skip what doesn’t.
And it’s about more than just the good stuff. Google Analytics can also show you where you’re losing visitors or which parts of your site might be causing confusion. Fixing these can make a massive difference to your site’s success!
Here are some of the critical insights you can gain from setting up Google Analytics:
- Understand your visitors – Google Analytics shows you who’s coming to your site, where they’re coming from, and what they like. This helps you understand what works and what doesn’t.
- Track your best content – Find out which pages or blog posts are the most popular. This way, you know what your visitors love and can make more of it.
- Helps with ad optimization – If you’re spending money on ads, Google Analytics tells you if it’s worth it. It shows which ads are effective and which aren’t, allowing you to focus your budget and save money.
- Avoid guesswork – Google Analytics gives you the real picture instead of guessing what your visitors like. This means you can make smarter decisions about your website.
- Spot and fix problems – If something’s wrong with your setup, like double tracking codes, Google Analytics can help you spot these issues before they mess up your data.
How to Set Up Google Analytics
Getting started with Google Analytics is easier than you might think, and the best part? It’s completely free! All you need is a Google or Gmail account to sign up.
If you’re worried about complicated steps, don’t be – the process is straightforward.
We’ll guide you through each step of how to set up Google Analytics 4 (GA4).
1. Create a Google Analytics Account
First, you need to create a Google Analytics account. This is where all your website’s data will live, so it’s crucial.
We’ll walk you through how to set up a Google Analytics account, making it simple.
Step 1: Go to Google Analytics
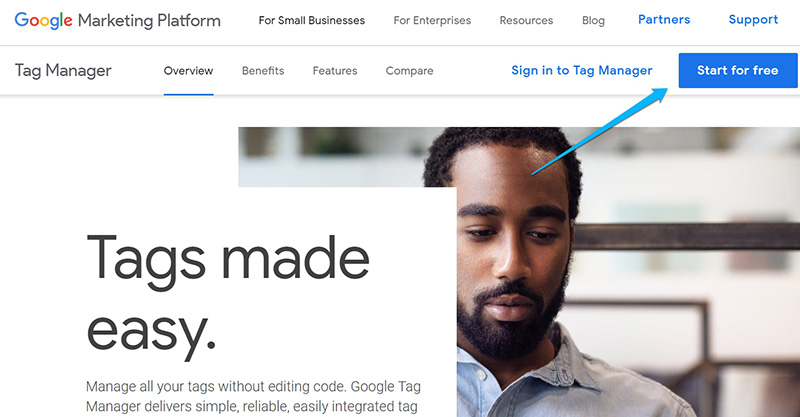
To begin, go to the Google Analytics website to sign up. Once there, click the “Get started today” button in the top right corner.

Step 2: Sign into Google
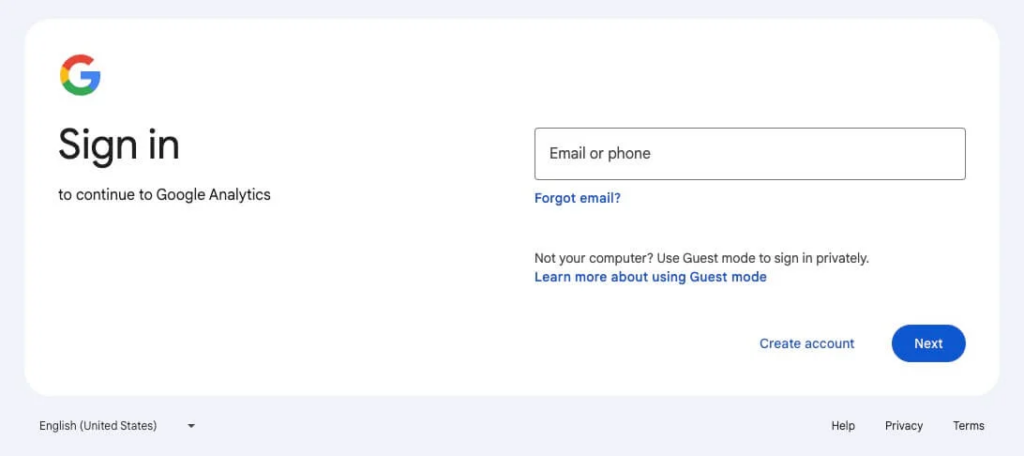
In the next step, you’ll be asked to sign in using your Google account. If you have an existing Google or Gmail account, you can use it. If not, you will need to create a new one.
Step 3: Create Your Google Analytics Property
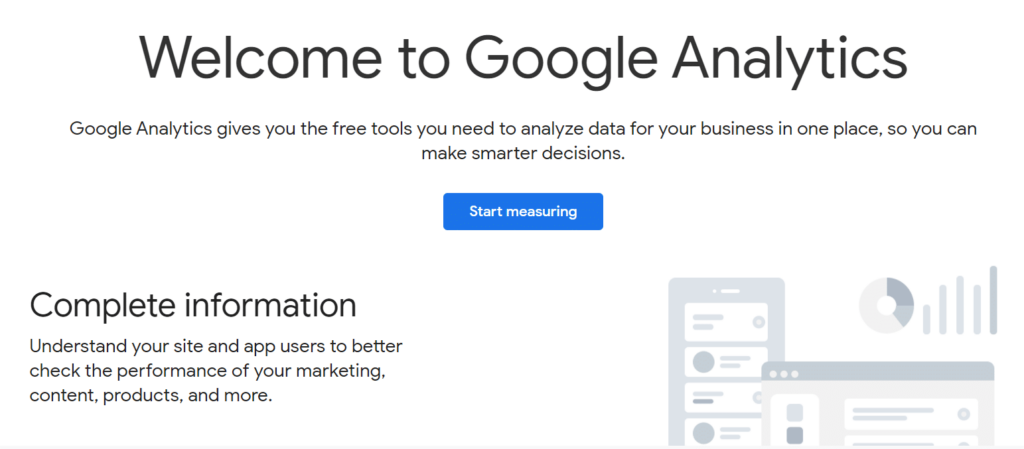
When you have signed in with your Google account, you need to click the Start measuring button.
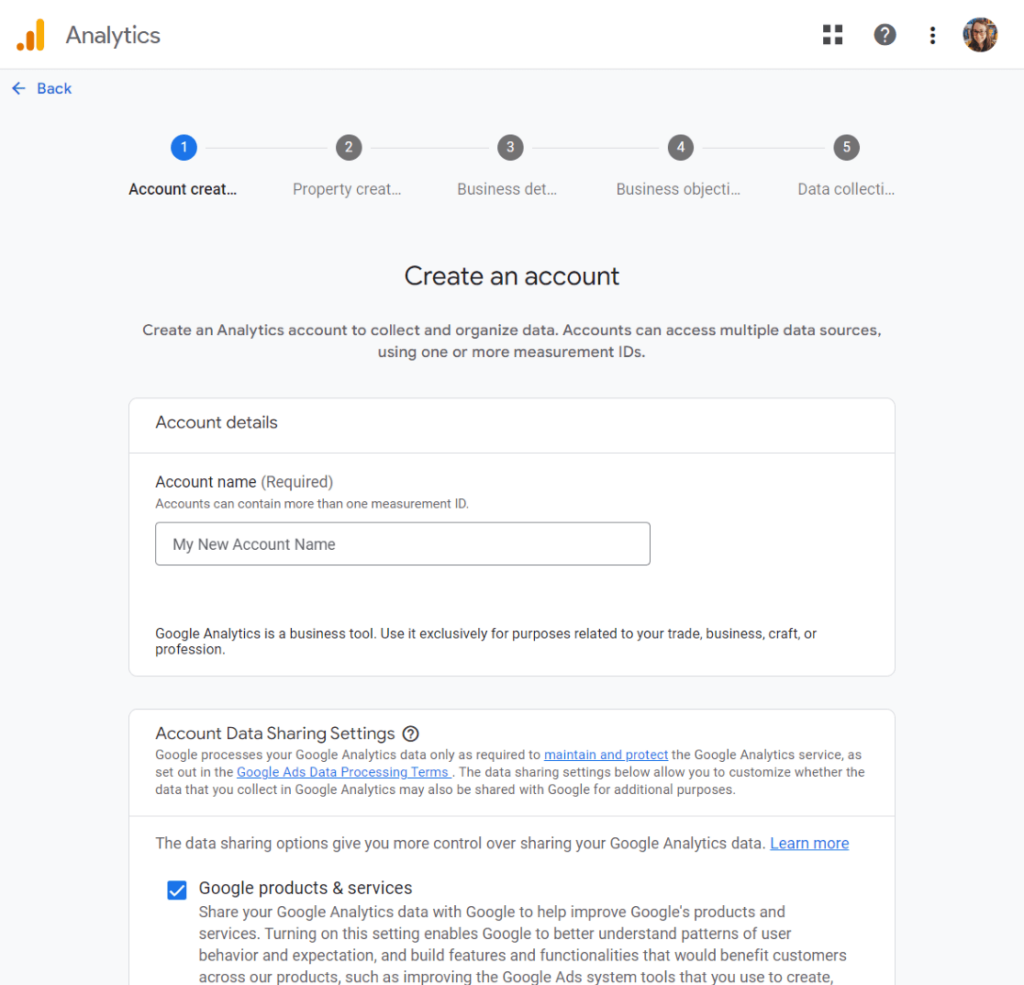
Next, you must select an Account name for your Google Analytics account. Additionally, you’ll see various data-sharing options. It’s important to set all these options before clicking Next.
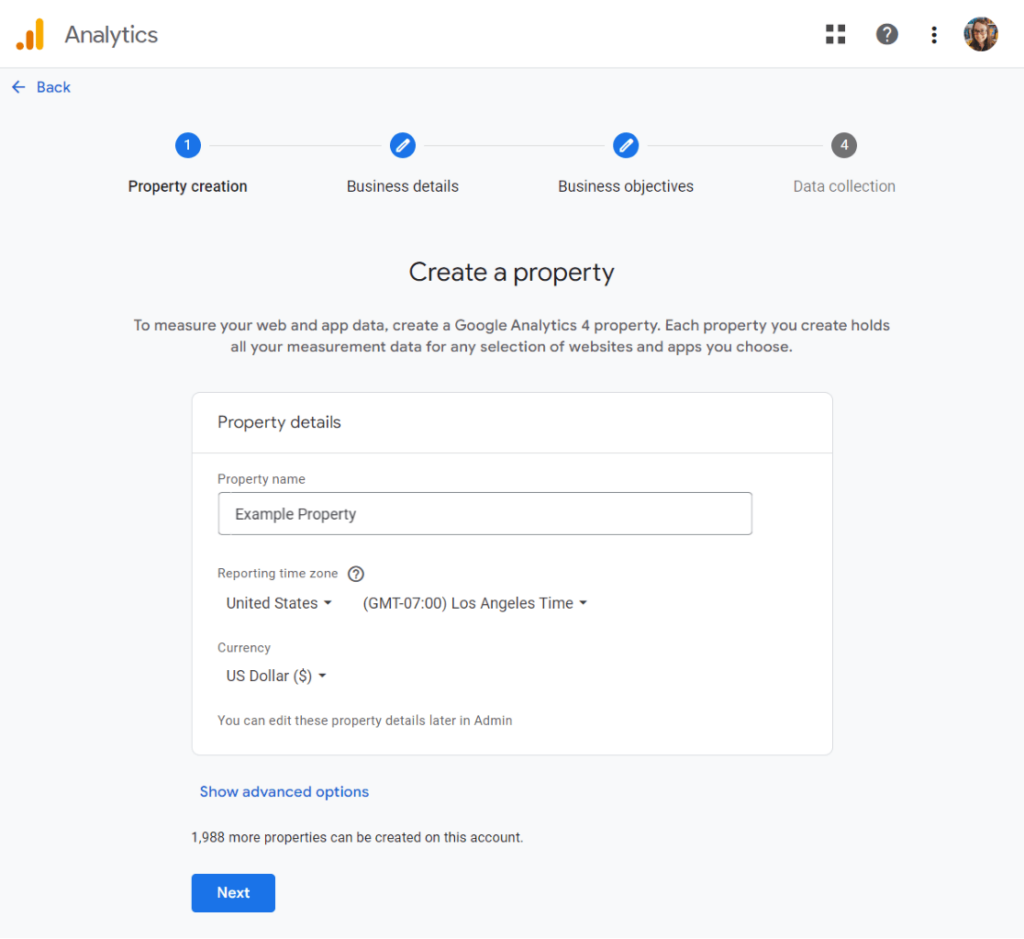
To set up Google Analytics correctly, you will need to enter the property details of your website. Enter your property name, choose a reporting time zone, and select the currency. After that, click Next.
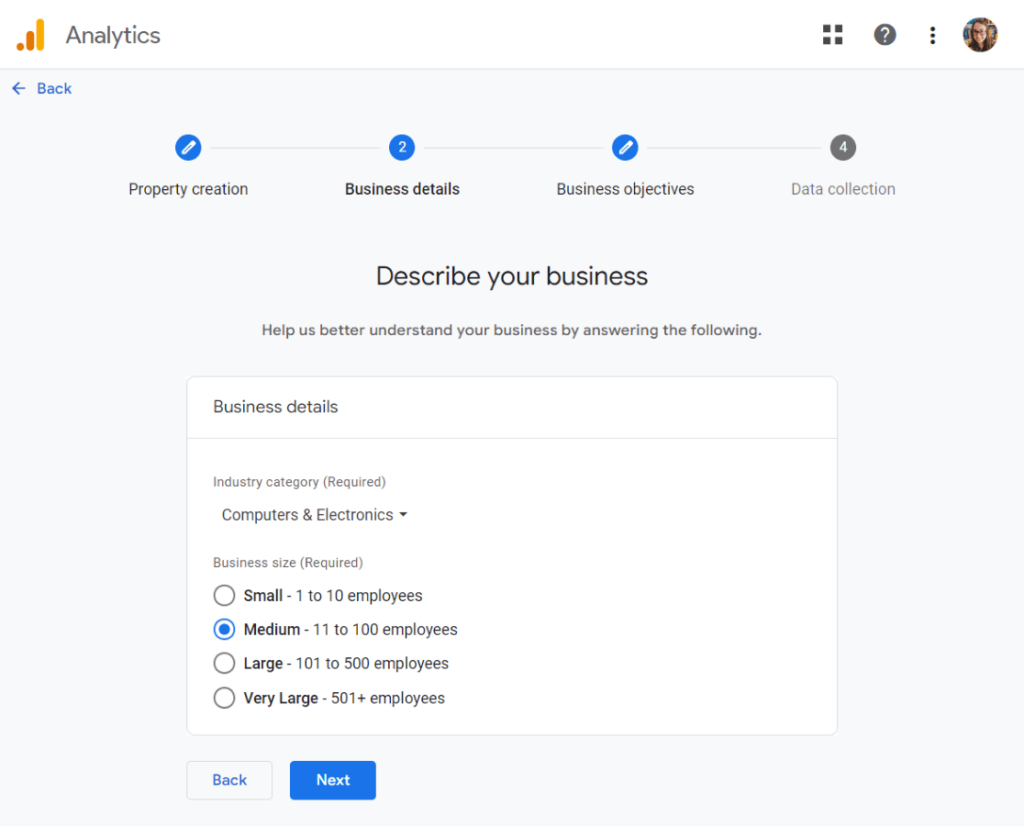
Now, select your specific industry category and the size of your business. After that, proceed by clicking Next.
Lastly, choose the objectives of your business. You should choose “Get baseline reports” to get all the Google Analytics data and reports in your account.
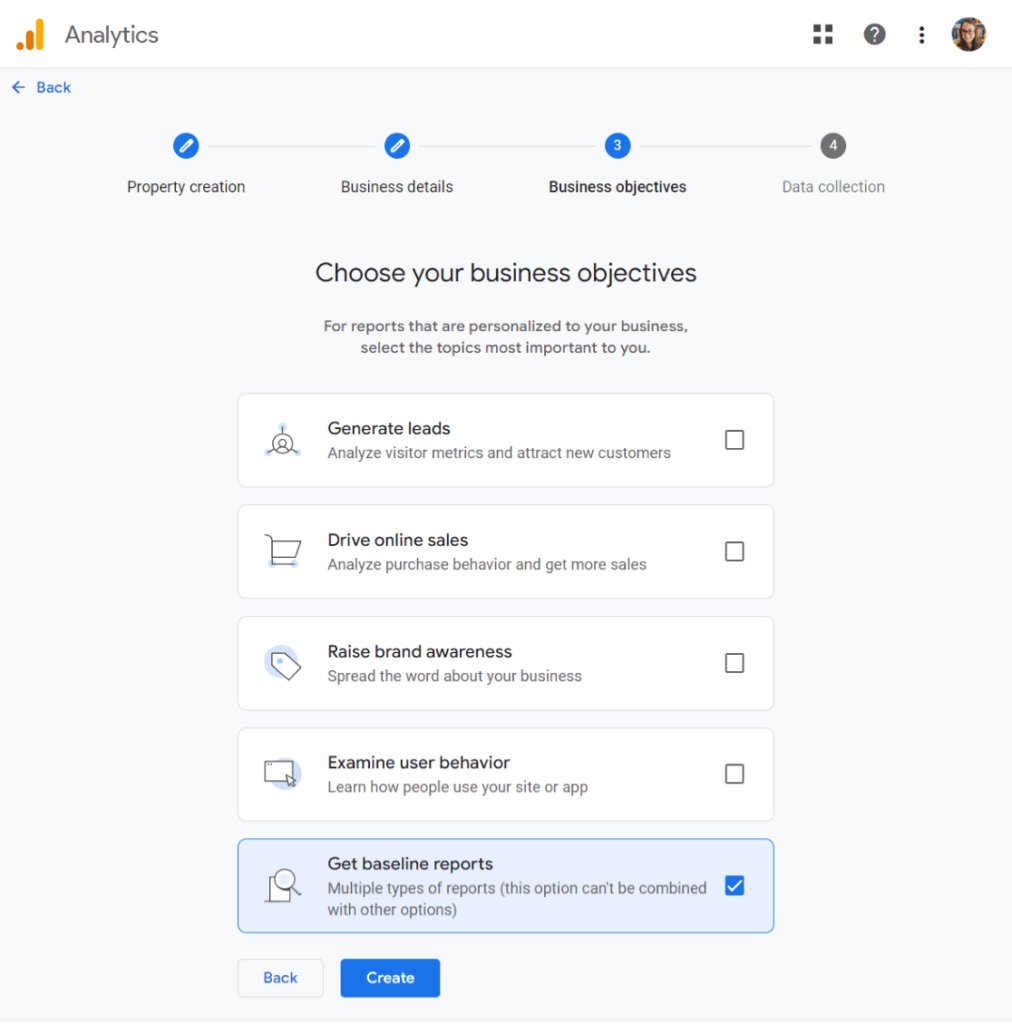
Now click Create.
That was pretty easy, right? You’re now ready and signed up for Google Analytics.
Next, we need to choose and set up your web stream.
Step 4: Choose Web Stream
At this point, you will see your Google Analytics web stream options.
Because we’re setting up GA4 for a website, select Web as your platform.
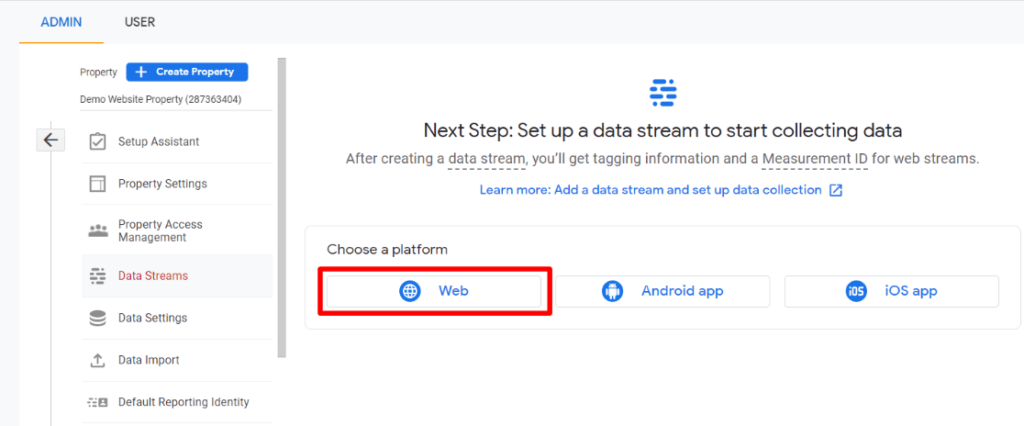
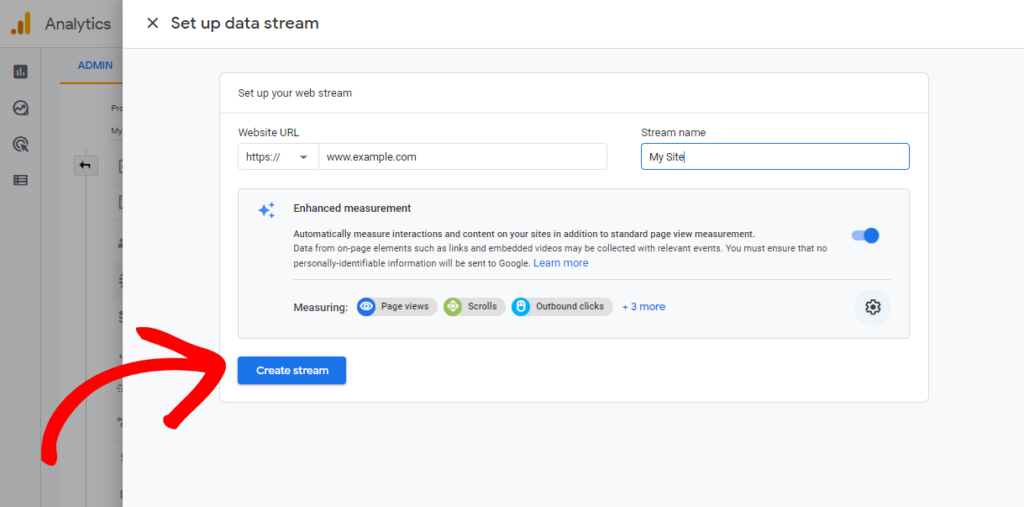
You’ll have to enter your website URL and Stream name.
As a default, Google Analytics has the Enhanced measurement option enabled. This lets you track visitors, scrolls, outbound clicks, and much more.
However, note that some of these tracking settings don’t work how you want them to. Check out our GA4 Enhanced Measurement Guide (+ Alternatives) for more details.
Next, click the “Create stream” button.
Now you can see your Stream name, ID, URL, and Measurement ID. Additionally, it also shows the different enhanced measurements that it will track.
At the top of the page, you will see a bar that shows you how to set up Google Analytics on your website.
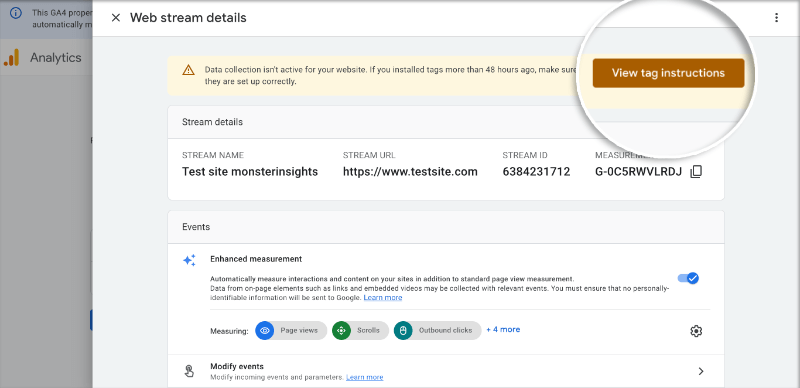
Click the X to quit the web stream details window. Now we need to add our Tech to the account. Select
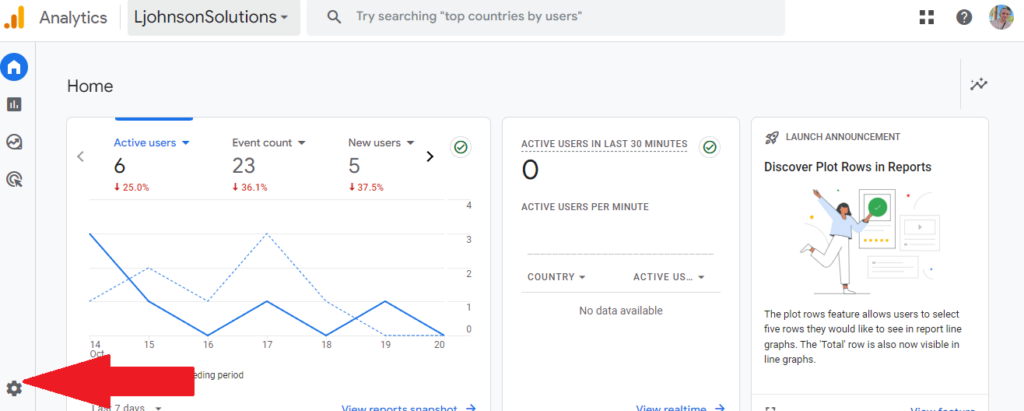
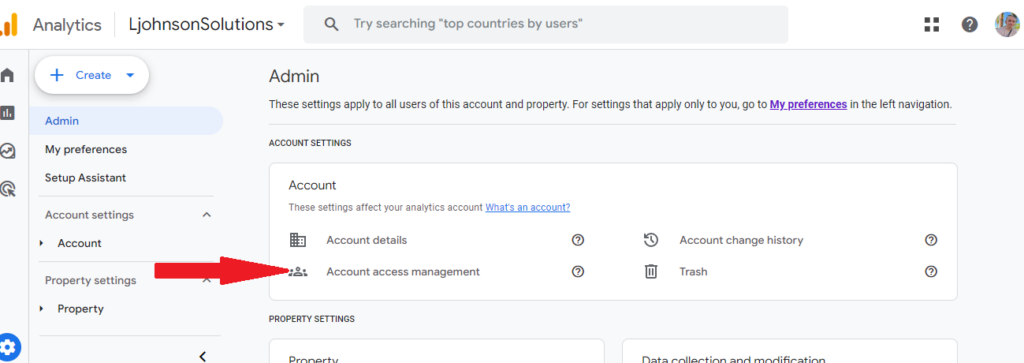
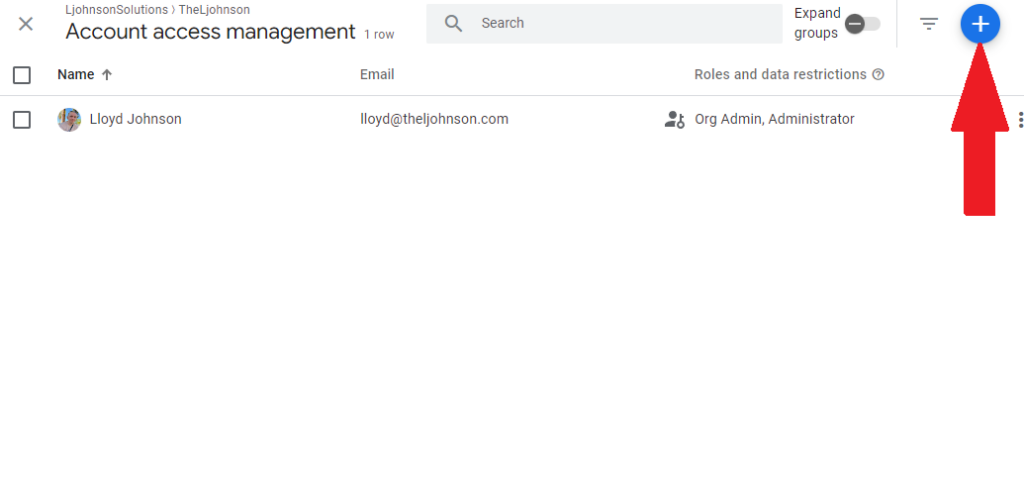
Select the Gear to get to Admin Settings, and select Account access management
From here, you will be able to see your Google Analytics users, select the + in the top right hand corner to add a new one.
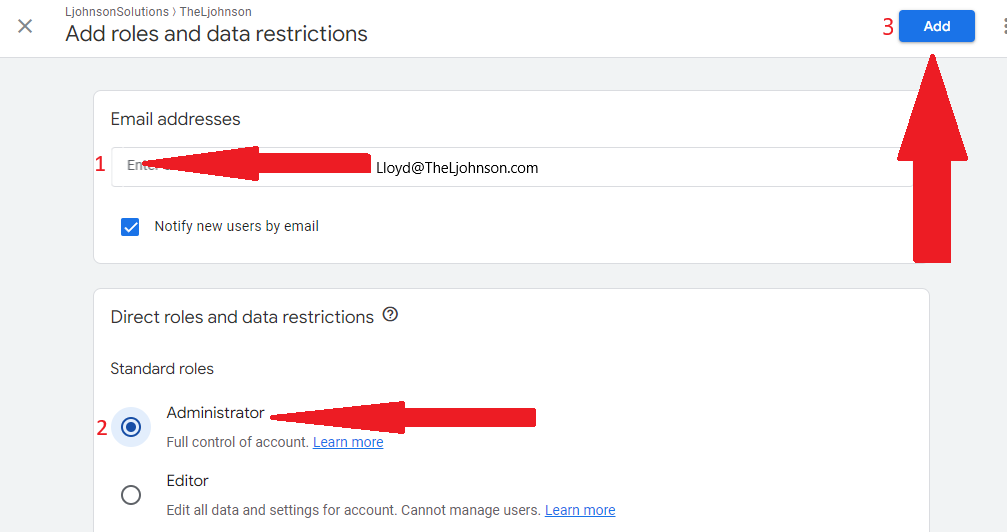
There are 3 steps here,
1. Enter in the email address
2. Select Administrator
3. Click Add
You are all done and have successfully added your Tech to the property.

